My wife informed me she asked a professional to examine our deck and provide an estimate to replace a rotten board. I’m re-staining it this summer, and wanted to have the board replaced beforehand. Taking a mental inventory of my tools, I confidentially stated I could replace it myself. Even though my wife’s facial expression expressed doubt, I laid out my plans to replace the board instead of paying someone to do it for me.
Tools Needed
First, I took inventory of the needed tools:
- Drill: I have an electric drill powerful enough to remove and insert decking screws (many light duty cordless drills may not be). I also verified I had the star bit needed for the screws currently in my deck.
- Circular Saw: For only one board I could have just used a hand saw, but my circular saw will make quick work of a nice clean cut.
- Tape Measure: I’ll need to measure the length of the current board, and ensure I cut the new board to the same length.
Supplies
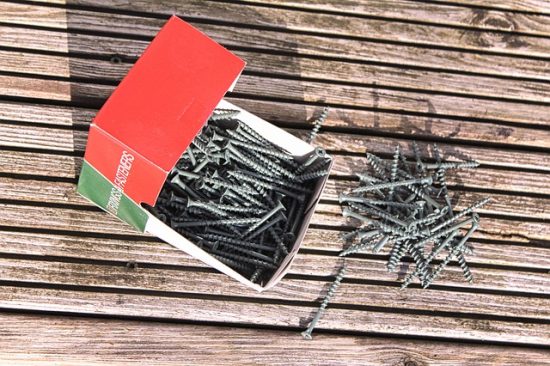
Next I made a list of the supplies I needed to do the job:
- Cedar Planks: My deck is made from cedar wood, and is 25 feet long. I’ll need enough cedar planking to span the entire deck
- Deck Screws: I could reuse the old screws, but since I’m putting in a new board, I felt like I’ll just use new screws as well.
Procedure
- Using my drill and star bit, I removed the old cedar planks. Two different boards were needed to span the entire deck. Measuring the lengths of the boards I was replacing, I purchased a 16 foot plank, and a 12 foot plank.
- I placed the new planks on the deck next to the hole left by the old pans. To hit a support beam, I would needed to cut just a little off the new 16 foot plank, and a few feet off the 12 foot plank. I measured and marked the cut lines
- Using my circular saw, and laying the planks across two tables, I cut the wood to the desired size.
- I then put the new planks in place, making sure I would be securing the ends on a common support beam. I then used my electric drill to secure the planks to each support beam with two deck screws.
DIY Advantages
Including the time it took to go get the supplies from the hardware store, I completed my project in about two hours. The advantages to this successful DIY project:
- I didn’t have to pay a professional
- The project was completed on my own timeline
- I had control over the selection of materials used on my deck
I had never replaced a board on my deck before, but it wasn’t difficult to figure out how to do it. I made use of the tools I already had, taught myself a new skill, and saved myself some money.
How about you, EOD Nation, what was the last DIY project you did which required you to do something you’ve never done before?